If you’ve ever worked on home repairs or worked on some wood-based projects around your home there’s a good chance you’ve run through those gruelling cracks, dents or tiny holes that seem impossible to fix. Whether it’s a weathered deck, aging outdoor trim, or a beat-up furniture piece, these imperfections can affect the appearance of your hard-earned work. The good news? The solution is simple wood filler.
This is the truth: Not all wood fillers are exactly the same. Selecting the best one for your project could make a huge difference. This guide will show you how and when to use wood filler (especially in outdoor projects).
What exactly What exactly is Wood Filler?
Wood filler is a similar to putty product used to patch holes, cover cracks, and even out blemishes on wooden surfaces. When it is dry it can be stained or painted, making it a perfect product for achieving a seamless surface prior to applying the final coat.
According to the type, wood fillers can be either water-based (easier to clean up and better to use indoors) or solvent-based (stronger and more weatherproof). Picking the right one depends on your specific project.
When do you need to use wood filler?
If you notice a crack or gouge or a dent on a wooden surface, filler for wood can be used to make it better. Here are just a few examples where filler comes in handy:
Repairing damaged furniture
Fixing cracks in doors or window frames
Repairing nail holes in moldings or trim
The sealing of outdoor decks and fencing
If you’re planning to paint or stain the surface, you can achieve a more professional look by filling in any flaws.
Why Exterior Wood Filler is Important for outdoor Projects
You’re working on outdoor wood projects like decks, fences, or siding? Fillers for wood indoors won’t work outdoors. Variations in temperature, rain sun, or humidity can cause wood to expand and shrink. If they’re not specifically designed for outdoor usage, standard fillers could crack or fall over time.
These fillers have been designed to withstand the elements. They are flexible enough to be able to move with the wood, preventing the repaired area from breaking down in the changing seasons. Exterior fillers may also be resistant to UV rays, and mildew.
The Right Way to apply Deck Wood Filler
Deck wood filler will help you to cover larger cracks and gaps in your deck. It’s often found in convenient tubes that work with standard caulking guns. This makes the process of applying it quick and simple.
Here’s a simple step-by-step procedure to get it right:
Clean the Surface: Get rid of dirt and debris as well as any old filler.
Prepare the Area Smoothly sand around the crack or hole so the filler will be able to properly adhere.
Apply the Filler: Use a putty knife or caulking gun for pressing the filler into the affected area. Fill the area with filler with a bit more than to allow for shrinkage.
Let It Dry Completely Follow the drying time (this can vary based on the type and thickness that is applied).
Sand the Area: Once the area is dry Sand the area to the same height as the surrounding wood. This will give the appearance of a seamless finish.
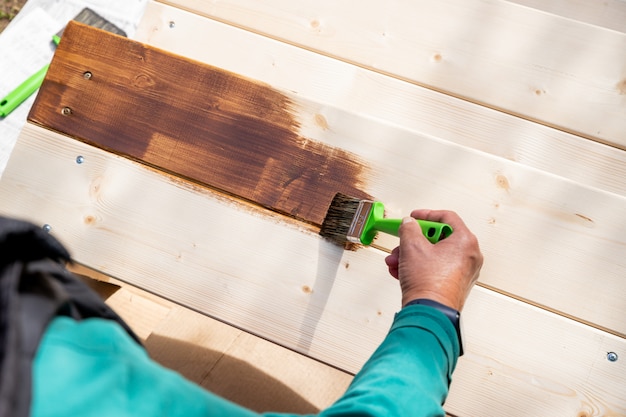
Prime, Paint or Stain Finish your project by staining or painting the surface to make it look like.
Small Step, Big Results
The process of picking up a tube wood filler may not seem important initially. Ask anyone who missed this step and regretting it later, and realized that it was the difference between an amateurish DIY project and a professional-looking finish.
Whether you’re restoring an old chair or patching up a backyard deck, using the right wood filler, especially exterior wood filler or deck wood filler where needed, ensures your hard work stands the test of time.
Be sure to remember: before you pick up the paintbrush, you need to smooth it, fill it in, and finally, finish it. The future you (and your wood-based projects) will thank you.